Imagine stepping into a home where the temperature stays steady no matter the weather outside. No more cranking up the heat in winter or blasting the AC in summer just to feel comfortable. That’s the promise of effective insulation. But getting there involves more than slapping some material in your walls. It means understanding key concepts like R-value, thermal resistance, and air sealing. These elements work together to keep your home efficient, comfortable, and cost-effective.
Insulation acts as a barrier that slows heat flow. In simple terms, it helps maintain the warmth you pay for inside during cold months and blocks summer heat from sneaking in. Poor insulation leads to higher energy bills, uneven temperatures, and even moisture problems that damage structures. According to the U.S. Department of Energy, homes with proper insulation solutions can cut heating and cooling costs by up to 20%. That’s real money saved over time.
In this guide, we’ll explore these elements in detail, starting with the basics of why insulation matters and how it fits into your home’s overall energy picture. Then, dive into R-value, the standard measure of how well insulation resists heat flow. Next, explore thermal resistance in depth, including factors that affect it beyond just the rating. Air sealing comes after that, showing how plugging leaks amplifies insulation’s benefits. From there, learn about different insulation types, practical installation steps, tools you’ll need, common obstacles, and ways to measure results. We’ll wrap up with trends shaping the future of home efficiency.
Think of this as your complete reference. Whether you’re a homeowner planning a retrofit or someone curious about energy savings, these details will equip you to make smart choices. Drawing from extensive field work with countless projects, this overview pulls together proven strategies that deliver lasting results. By the end, you’ll see how these pieces fit to maximize performance and transform your space.
Why Insulation Matters for Your Home
Your home’s envelope—walls, roof, floors, and windows—faces constant battles with outdoor temperatures. Without solid insulation, heat escapes quickly in winter, forcing your furnace to work overtime. In summer, hot air infiltrates, making cooling systems strain. This not only hikes utility bills but also wears out equipment faster.
Consider this: The average U.S. household spends about $2,000 a year on heating and cooling, per data from the U.S. Energy Information Administration. Upgrading insulation can slash that by 15-30%, depending on your climate and home setup. Beyond costs, good insulation improves comfort. Rooms feel cozier without drafts, and noise from outside drops too.
Insulation also plays a role in sustainability. It reduces reliance on fossil fuels for heating, lowering your carbon footprint. In fact, the International Energy Agency notes that better building envelopes could cut global energy use in buildings by 30% by 2050. For homeowners, this means a greener home without sacrificing livability.
But insulation isn’t a one-size-fits-all fix. Factors like your local climate, home age, and construction type influence what works best. Older homes often have gaps or outdated materials that let efficiency slip. New builds benefit from integrated designs that prioritize performance from the start. These factors underscore the importance of focusing on R-value, thermal resistance, and air sealing to achieve sustainable efficiency.
To get the most out of your efforts, focus on the core elements: R-value for material resistance, overall thermal performance, and sealing paths for air movement. These build on each other for a tight, efficient system.
Breaking Down R-Value
R-value measures how well a material resists heat flow. The higher the number, the better it blocks temperature transfer. Think of it as the insulation’s scorecard—a simple way to compare options.
Scientists calculate R-value in lab tests by applying heat to one side of the material and measuring how much passes through. It’s expressed per inch of thickness, so adding layers boosts the total. For example, a material with an R-3 per inch in a 4-inch wall gives an R-12 overall.
Why does this matter? In cold climates, you need higher R-values to keep heat in. The U.S. Department of Energy recommends R-49 for attics in northern states, versus R-30 in the south, according to their Building Energy Codes Program. Matching your R-value to your zone prevents over- or under-insulating, which wastes money.
Don’t confuse R-value with just thickness. Some materials pack more resistance into less space. Fiberglass might need more bulk for the same rating as foam board.
Expert Tip: When shopping, check labels for installed R-value, not just material ratings. Settling or compression can lower performance by 20-30% if not accounted for.
R-value guides material choices, but it doesn’t tell the whole story. Heat moves in three ways: conduction through solids, convection via air currents, and radiation across spaces. R-value mainly addresses conduction, leaving other paths open unless you tackle them separately. This is where the broader concept of thermal resistance comes in, as explored next.
Thermal Resistance Explained
Thermal resistance is the broader concept behind R-value. It describes a material’s or assembly’s ability to slow heat transfer overall. R-value quantifies that for insulation, but real-world setups involve more. While R-value focuses on materials, thermal resistance encompasses the entire building assembly.
Heat always flows from hot to cold. Resistance counters that by creating barriers. In walls, for instance, insulation fills cavities to trap still air, a poor heat conductor. But assemblies include studs, sheathing, and drywall too. Those conductive parts form “thermal bridges” that bypass insulation, reducing total performance.
A study by Oak Ridge National Laboratory shows thermal bridging can cut effective R-value by 20-50% in framed walls. To counter this, advanced techniques like continuous insulation layers outside the frame help. This keeps resistance uniform across the surface.
Moisture affects thermal resistance too. Wet insulation loses effectiveness as water conducts heat better than dry air. In humid areas, vapor barriers prevent this drop.
Market data highlights the impact: Homes with enhanced thermal resistance see 25% lower energy use for heating, per the Residential Energy Consumption Survey. Investing here pays off quickly.
Expert Tip: Use infrared cameras to spot thermal weaknesses. Cold spots on walls often reveal bridges or gaps you can fix before full insulation.
Understanding these dynamics lets you design systems that perform closer to lab ratings in practice.
Mastering Air Sealing
Air sealing targets the leaks that let conditioned air escape or unconditioned air enter. Even top-rated insulation fails if air flows freely through it, carrying heat along.
Drafts around windows, doors, outlets, and recessed lights add up. The Building Science Corporation estimates uncontrolled air leakage accounts for 25-40% of a home’s energy loss. Sealing these cuts that dramatically.
Start by identifying paths. Pressurized blower door tests measure total leakage, giving a baseline. Common spots include attic hatches, chimney chases, and plumbing penetrations.
Materials for sealing range from caulk for small gaps to spray foam for larger ones. Low-expansion foam works well around wires without damaging them. Weatherstripping handles movable joints like doors.
Combine air sealing with insulation for best results. Seal first, then insulate to avoid trapping moisture. This duo boosts efficiency beyond what either does alone.
In one real-world case, a mid-sized home reduced air changes per hour from 0.5 to 0.2 after sealing, dropping energy bills by 18%, as noted in reports from Energy Star.
Achieving Maximum Performance: Integrating R-Value, Thermal Resistance, and Air Sealing
These elements shine when combined. High R-value materials provide the base resistance. Optimized thermal design minimizes bridges. Air sealing stops convective losses.
Consider a wall assembly: Start with sealed sheathing, add rigid foam for continuous insulation (bumping effective R-value), then fill cavities with batts rated for your needs. This layered approach targets all heat paths.
Data from the National Renewable Energy Laboratory shows integrated systems can achieve 30-50% better energy performance than piecemeal fixes.
Key Takeaways:
- Prioritize air sealing before insulating to maximize gains.
- Aim for balanced R-values across your home’s envelope.
- Test assemblies for real thermal resistance, not just material specs.
Expert Tip: In retrofits, focus on the “big wins” like attics and basements first. They often yield 50% of total savings with less effort.
This integration turns a good setup into a great one, ensuring every dollar spent counts.
Types of Insulation Materials
Choosing the right type depends on location, budget, and installation ease. Here’s a breakdown of common options.
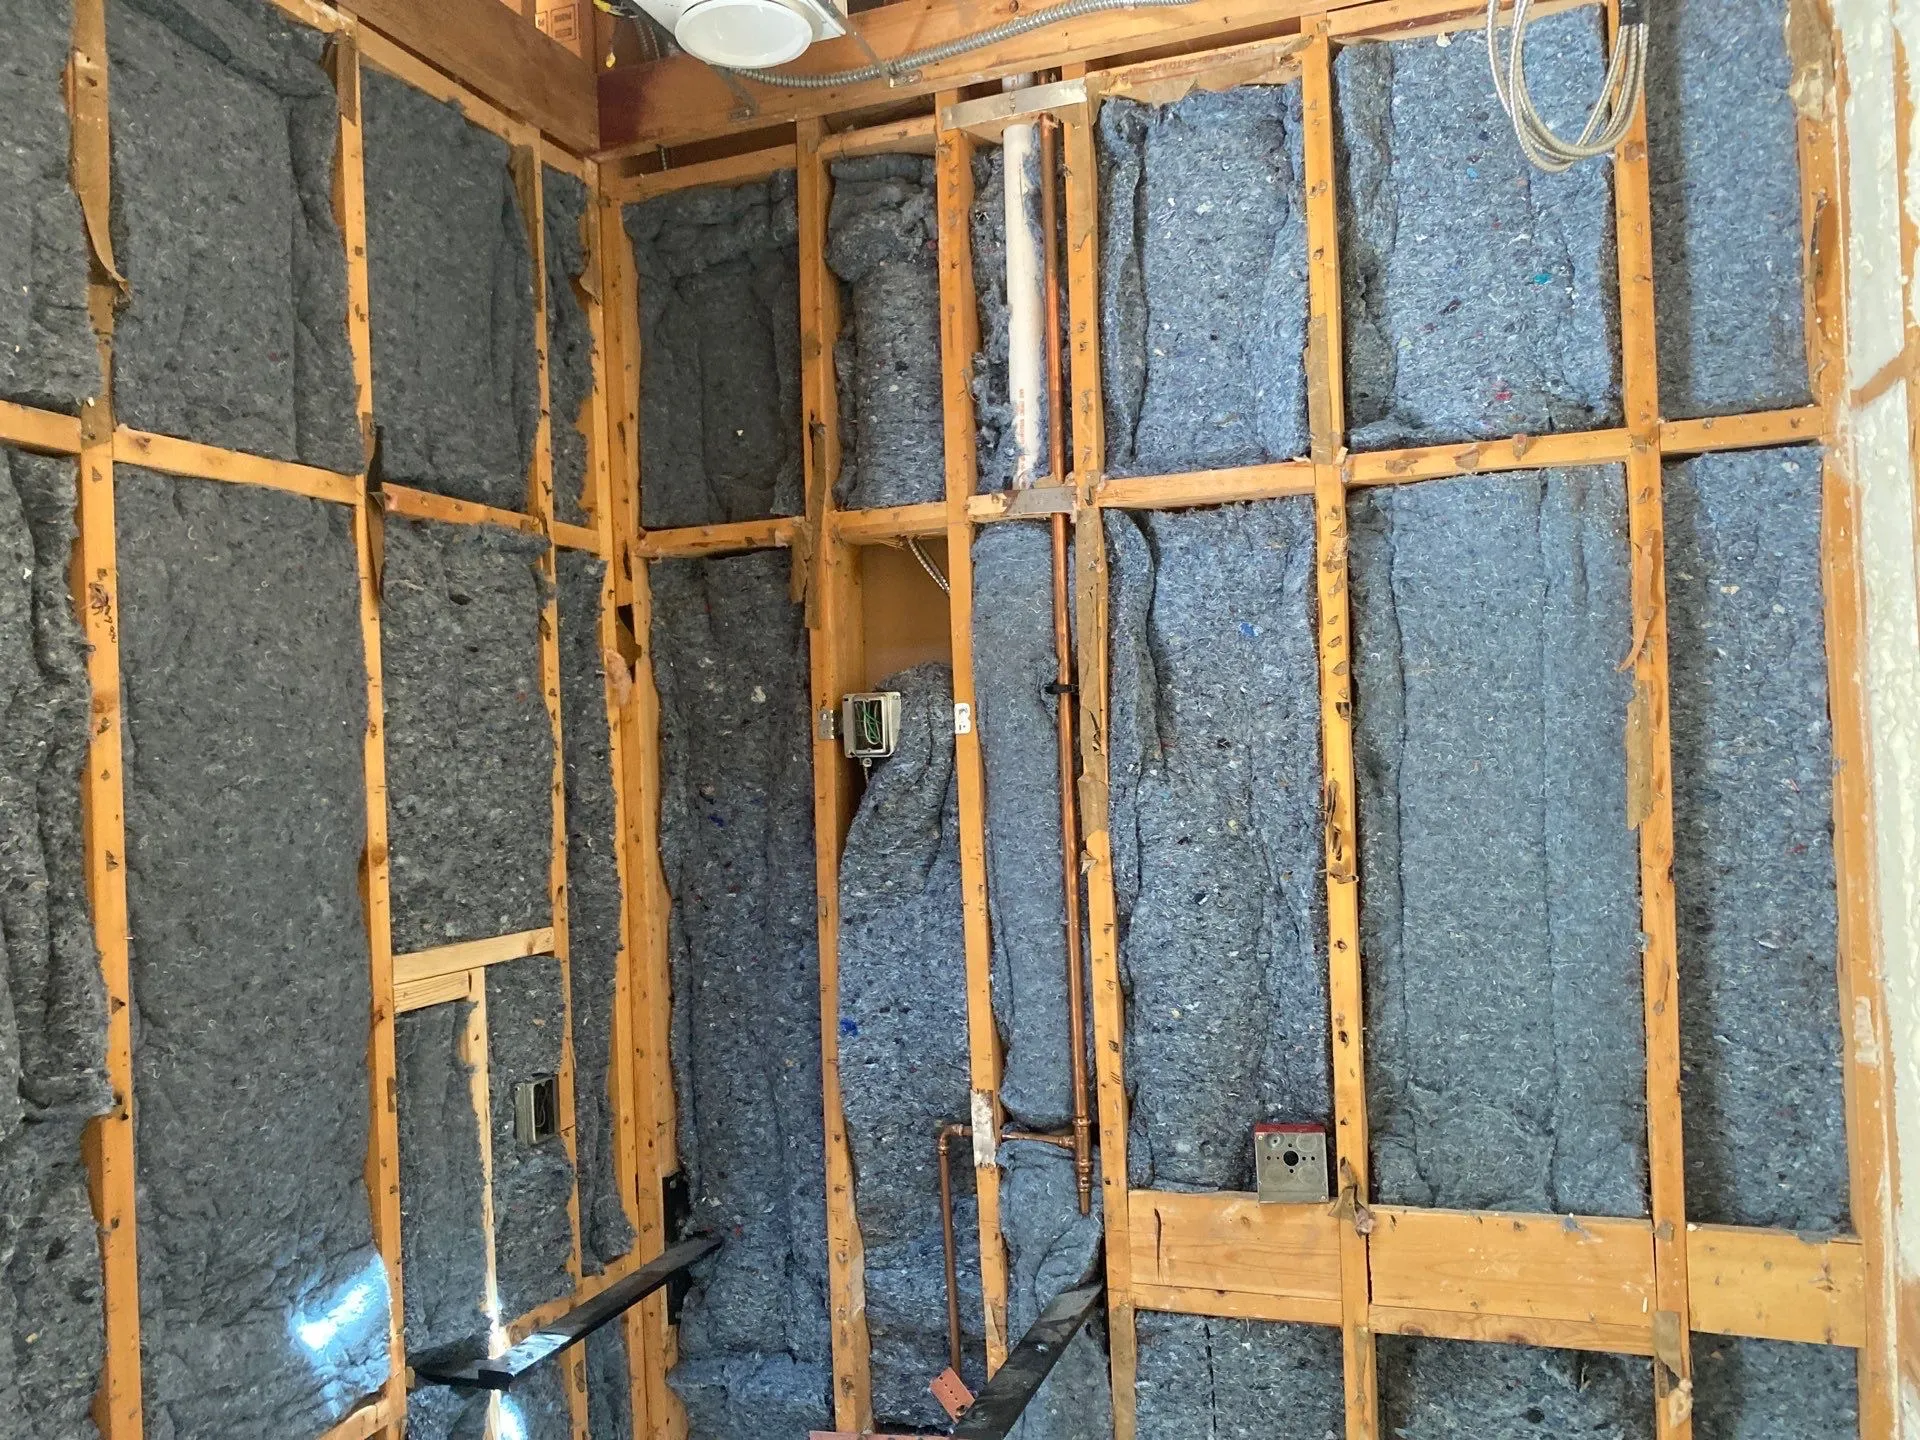
- Fiberglass Batts: Affordable and widely available. R-3 to R-4 per inch. Easy for DIY in open spaces but irritates skin during handling.
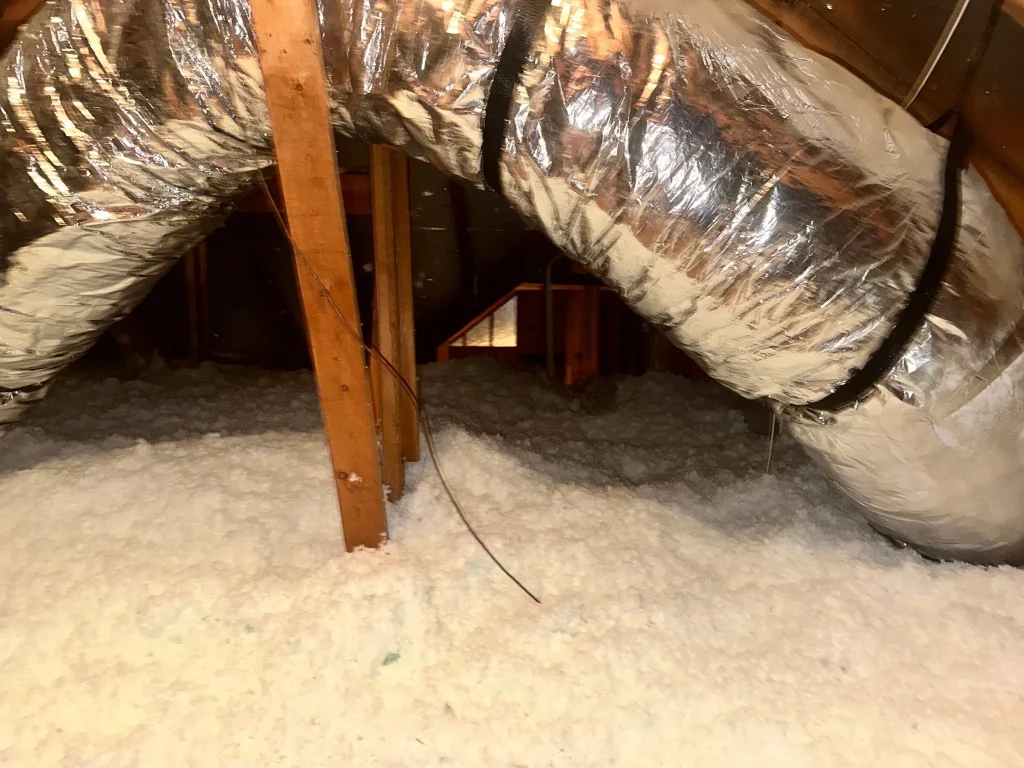
- Cellulose: Blown-in from recycled paper. R-3.5 per inch. Settles into irregular areas well but needs dry climates to avoid moisture issues.
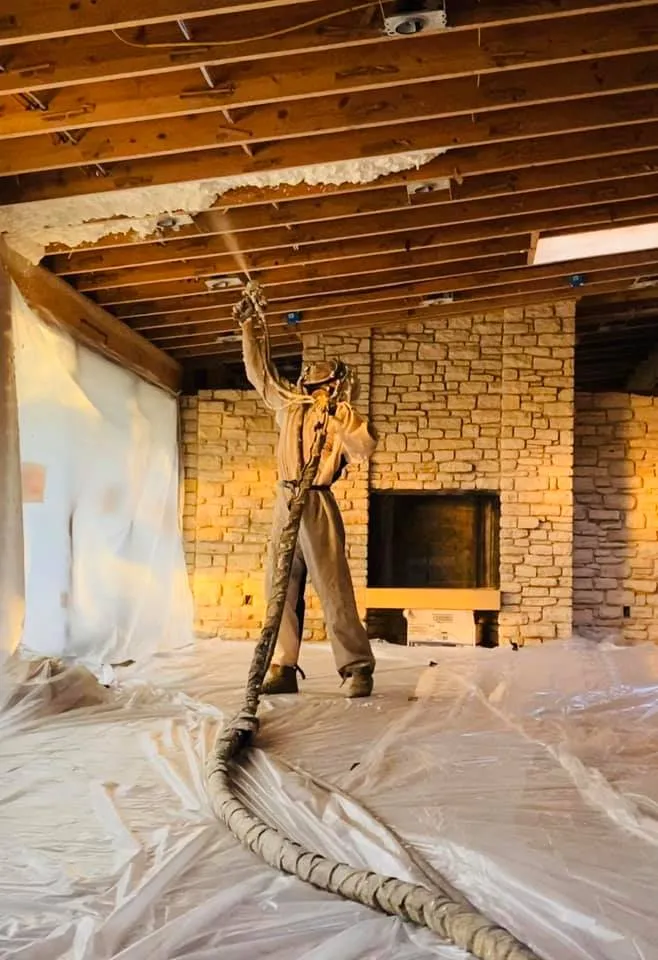
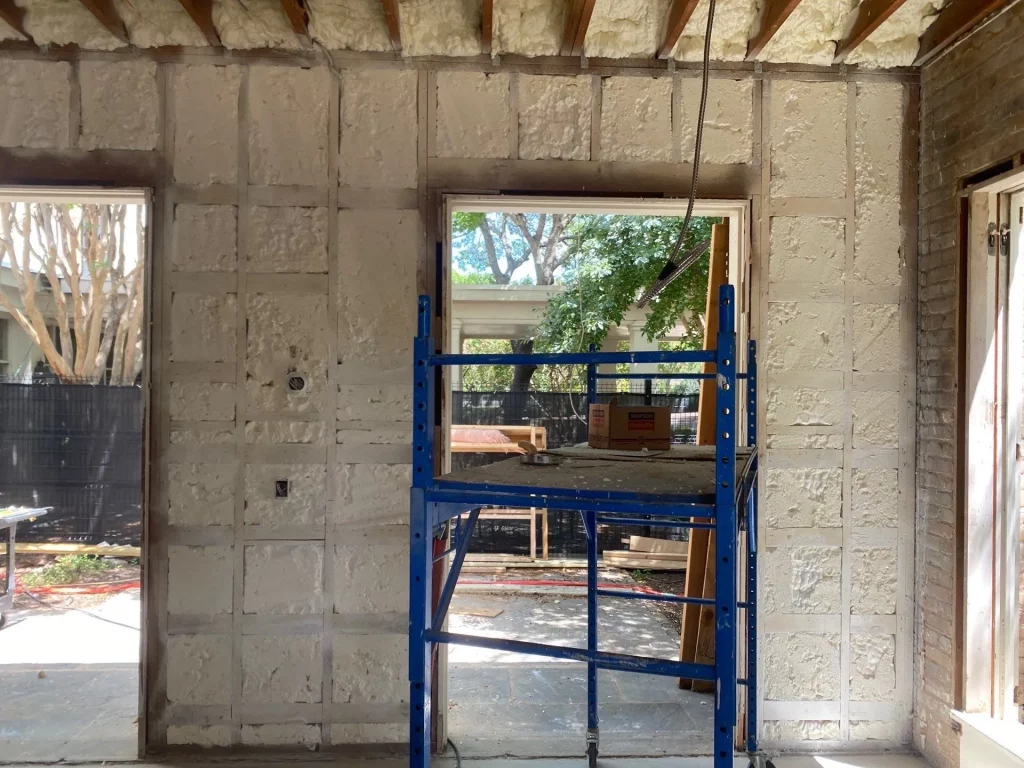
- Spray Foam: Expands to fill gaps. Closed-cell offers R-6+ per inch and acts as an air barrier. Open-cell is cheaper but less resistant.
- Rigid Foam Boards: High R-value (R-5 per inch) for continuous layers. Great for foundations but requires careful cutting.
- Mineral Wool: Fire-resistant with R-4 per inch. Handles sound well, ideal for noisy areas.
Each has trade-offs. Here’s a comparison table:
| Material | R-Value per Inch | Pros | Cons | Best For |
|---|---|---|---|---|
| Fiberglass | 2.9-3.8 | Low cost, easy install | Can sag, irritant | Attics, walls |
| Cellulose | 3.1-3.8 | Eco-friendly, fills voids | Settles over time | Blown applications |
| Closed-Cell Spray Foam | 6.0+ | Air/moisture seal | Expensive, professional | Rim joists, basements |
| Rigid Foam | 3.8-6.5 | Thin profile, moisture resistant | Combustible without cover | Exterior sheathing |
| Mineral Wool | 3.0-4.0 | Non-combustible, soundproof | Heavier, pricier | Multi-family units |
Source: Adapted from U.S. Department of Energy Insulation Materials Guide.
Match types to your goals. For moisture-prone spots, go with foam. Budget builds favor fiberglass.
Step-by-Step Guide to Insulation and Air Sealing
Ready to act? Follow this process for success.
- Assess Your Home: Use a blower door test or visual inspection to find leaks and weak spots. Note insulation levels in attics, walls, and floors.
- Plan Materials: Calculate needed R-value based on your climate. Factor in space and access.
- Seal Air Leaks: Caulk cracks, foam gaps, and weatherstrip doors. Cover recessed lights with approved boxes.
- Install Insulation: Start in attics with loose-fill or batts. For walls, drill and blow if closed. Use knee walls or baffles to vent properly in attics.
- Add Vapor Control: Install barriers where needed to manage moisture flow.
- Inspect and Test: Retest for leaks. Check for even coverage.
Safety first: Wear masks, gloves, and goggles. In tight spaces, ensure ventilation.
Expert Tip: Label your materials and keep records. This helps if issues arise later or for resale value.
This methodical approach avoids costly mistakes.
Tools and Techniques for Effective Installation
Basic tools include tape measures, utility knives, staplers, and safety gear. For air sealing, grab caulk guns, foam dispensers, and backing rods for deep gaps.
Advanced techniques use infrared thermography to verify coverage. Blower doors quantify improvements—aim for under 3 air changes per hour in tight homes.
For blown-in work, rent a machine from suppliers. It distributes cellulose or fiberglass evenly.
Don’t overlook ventilation. Insulated attics need ridge and soffit vents to prevent moisture buildup.

Common Challenges and How to Overcome Them
How Can Compression Affect Insulation Performance?
Installation often hits snags. Compression reduces R-value, so avoid stuffing batts tightly. Solution: Cut to fit precisely for best results.
How Do You Prevent Moisture Problems in Walls?
Moisture in walls leads to mold. The fix is using proper vapor retarders and drainage planes to keep insulation dry and effective.
What Challenges Arise in Older Homes?
In older homes, asbestos or knob-and-tube wiring complicates retrofits. The safest approach is to hire professionals for removal and remediation.
Cost is a barrier, but incentives like the Inflation Reduction Act offer credits up to $1,200 for insulation upgrades.
Key Takeaways:
- Address moisture early to protect long-term performance.
- Use incentives to offset upfront costs.
- Professional help shines for complex jobs.
Budget time too—a full home seal and insulate can take weeks.
How to Measure and Optimize Performance
Track success with energy bills pre- and post-project. Look for 10-20% drops initially.
Home energy audits provide detailed metrics. Tools like data loggers monitor temperatures over time.
Optimize by addressing weak links. If walls underperform, add interior insulation. Recalculate effective R-value using software from RESNET.
Long-term, maintain by checking seals annually. Re-insulate settled areas every 20-30 years.
Market stat: Optimized homes sell for 5-10% more, per Lawrence Berkeley National Laboratory research.
Emerging Trends in Insulation Technology
Innovation pushes boundaries. Aerogel blankets offer R-10 per inch in thin profiles, ideal for retrofits.
Smart insulation with phase-change materials absorbs and releases heat dynamically. Phase-change drywall, for example, stabilizes indoor temps.
Bio-based options like mycelium grow insulation from fungi, cutting environmental impact.
The Insulation Institute predicts spray foams will dominate new installs, with 15% annual growth through 2030.
Vacuum-insulated panels hit R-30+ in inches-thick layers but cost more.
Stay updated—these advances make high performance accessible.
Expert Tip: Pilot new materials in small areas first. Test for compatibility with your setup.
Putting Your Insulation Strategy into Action
You’ve now got the full picture on R-value, thermal resistance, and air sealing. These tools let you build a home that’s efficient, comfortable, and resilient. Start with an assessment to pinpoint needs, then tackle sealing and insulating step by step. Track changes in comfort and bills to see the difference. Keep this guide handy as a reference—it’ll serve you through projects big and small. With the right approach, you’ll enjoy lasting benefits.
Need Expert Guidance?
For personalized advice on your insulation project, reach out to Stellrr Insulation & Spray Foam. Our team at info@stellrr.com or (512) 710-2839 can assess your home and recommend tailored solutions to boost performance. Get started today and see real improvements in efficiency and comfort.
Frequently Asked Questions About Insulation Solutions
What is the difference between R-value and thermal resistance?
R-value specifically measures a material’s resistance to conductive heat flow per inch. Thermal resistance covers the whole assembly’s performance, including bridges and other factors. Always consider both for accurate planning.
Do I need to air seal if I have high R-value insulation?
Yes. Insulation resists conduction, but air movement carries heat through it. Sealing leaks can improve efficiency by 20% or more, even with top-rated materials.
How often should I replace or add insulation?
Most last 20-50 years, but check for settling or damage every 5-10 years. Add layers if your climate demands higher R-values now than when installed.
Can I install insulation myself?
Basic batts in attics work for DIYers with care. Blown-in or spray foam often needs pros for even coverage and safety. Start small if unsure.
What R-value do I need for my region?
It varies. Use the Department of Energy’s map: R-30-49 for attics in cold areas, R-13-21 for walls nationwide. Adjust for local codes.
Does insulation help with soundproofing?
It does reduce noise transmission, especially denser types like mineral wool. For major sound issues, combine with sealing and mass-loaded vinyl.
Sources
- U.S. Energy Information Administration – Report on household energy spending for heating and cooling.
- International Energy Agency – Analysis of energy use in buildings and efficiency potential.
- Oak Ridge National Laboratory – Research on thermal bridging effects in wall assemblies.


