If you have ever walked into your upstairs on a summer afternoon and felt like you stepped into an oven, or noticed your heating bill climbs every winter while certain rooms stay stubbornly cold, your attic insulation might be the culprit. The attic is one of the largest sources of energy waste in a home, and yet it is also one of the most straightforward areas to address. After years of working with homeowners on insulation projects, we have seen firsthand what a difference proper attic insulation makes, not just on energy bills, but on everyday comfort and the long-term health of a home.
This guide covers everything from the basic science of how heat moves through your attic to the different insulation materials available, how to tell if your attic needs attention, common installation mistakes, and how proper ventilation ties into the whole system. Whether you are planning a DIY project or hiring a professional, by the end of this guide, you will have a clear understanding of what your attic needs and why it matters.
How Heat Moves Through Your Attic
Before getting into materials and methods, it helps to understand exactly why the attic matters so much. Heat moves through your home in three ways: conduction, convection, and radiation. Conduction is heat transfer through solid materials, like warm indoor air passing through your drywall ceiling and into the attic. Convection is the movement of air itself. Since warm air rises, the heated air inside your living space naturally pushes upward and finds every crack, gap, and opening in your ceiling to escape into the attic above. Radiation is heat traveling in a straight line from a warm surface to a cooler one, like the sun beating down on your roof and radiating heat through the roofing materials into your attic.
Your attic sits at the intersection of all three of these heat transfer methods. In winter, you lose heated indoor air through the ceiling. In summer, the sun heats your roof, and that radiated warmth pours into your attic, pushing down through the ceiling into your living space. According to research from the U.S. Department of Energy’s Building America program, insulation upgrades combined with air sealing can cut home energy use by as much as 47% when paired with other efficiency improvements. The attic is where a large portion of that opportunity lives.
Insulation works by slowing down all three types of heat transfer. The trapped air pockets within insulation material resist conductive heat flow. Dense-packed insulation limits convective air movement. And certain types, like radiant barriers, directly reflect radiant heat. The effectiveness of any insulation is measured by its R-value, which indicates its resistance to heat flow. The higher the R-value, the better the insulating power.
Expert Tip: When evaluating your attic, do not just look at insulation depth. Press your hand into the insulation in several spots. If it feels compressed or settled, its effective R-value has dropped below what the original depth would suggest.
The Numbers: Why Attic Insulation Deserves Attention
The scale of the problem is larger than most people realize. Research commissioned by the North American Insulation Manufacturers Association (NAIMA) and conducted by ICF Consulting found that 89% of U.S. single-family homes are under-insulated, based on the 2012 International Energy Conservation Code as a baseline. That means nearly nine out of ten homes are losing energy and money every single day because their insulation does not meet even a modest modern standard.
The EPA’s ENERGY STAR program estimates that homeowners can save an average of 15% on heating and cooling costs, or about 11% on total energy costs, by air sealing their homes and adding insulation in attics, crawl spaces, and basements. According to ENERGY STAR – Rule Your Attic! For Comfort and Savings, in colder northern climate zones, those savings climb even higher. Homes in Climate Zone 6, for example, can see estimated savings of 18% on heating and cooling alone.
| Climate Zone | Location Examples | Estimated Heating/Cooling Savings |
|---|---|---|
| 1-2 | South Florida, South Texas | 7-9% |
| 3 | Southern California, Georgia | 14% |
| 4-4C | Mid-Atlantic, Pacific Northwest | 17-20% |
| 5-6 | New England, Upper Midwest | 16-19% |
| 7-8 | Northern Minnesota, Alaska | 18-19% |
The U.S. Department of Energy notes that heating and cooling account for 50 to 70% of the energy used in the average American home, and that inadequate insulation and air leakage are among the leading causes of energy waste. When you combine those facts with the finding that nearly all homes are under-insulated, the case for upgrading your attic becomes clear.
Key Takeaways
- 89% of U.S. single-family homes do not meet current insulation standards, meaning most homes are losing energy and money daily.
- Proper attic insulation and air sealing can save an average of 15% on heating and cooling costs nationally, with higher savings in colder climates.
- Heating and cooling make up roughly half to 70% of home energy use, so improving the attic’s thermal performance has a meaningful impact on total bills.
Types of Attic Insulation
Not all insulation is created equal, and the right choice depends on your attic’s condition, your climate zone, your budget, and whether you plan to tackle the project yourself or hire a professional. As detailed by the U.S. Department of Energy – Types of Insulation, there are several major categories of insulation, each with distinct advantages for attic applications.
Blanket Batts and Rolls
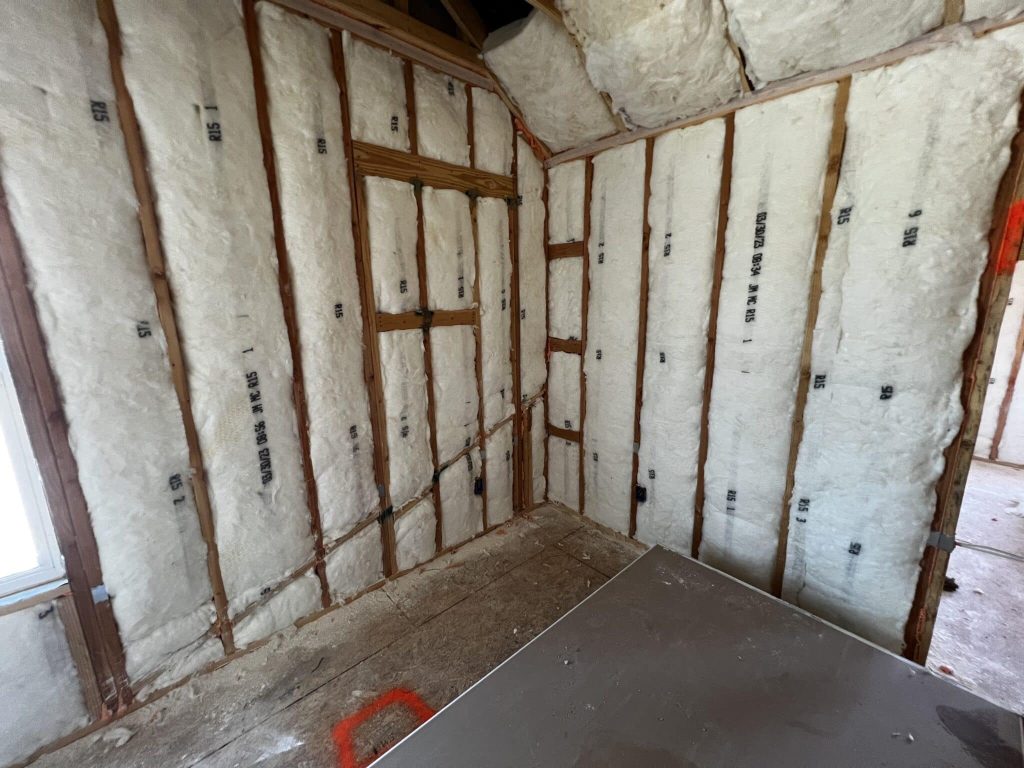
Batts and rolls are the most common and widely available type of insulation. They come in pre-cut widths designed to fit between standard ceiling joists or attic trusses (typically 16 or 24 inches on center). The most common material is fiberglass, though mineral wool and natural fiber options exist.
Batts are relatively inexpensive and can be installed as a DIY project by a homeowner willing to work in an attic. They come with or without facings like kraft paper or foil, which can serve as a vapor barrier. For attic floor applications where you are adding a second layer over existing insulation, you want unfaced batts to avoid trapping moisture between layers.
The downside of batts is that they can leave gaps and voids if not installed carefully. Compressed batts lose significant R-value. Any gaps around framing, ductwork, or electrical boxes become channels for air leakage, which undermines the insulation’s performance. In our experience, poorly installed batt insulation is one of the most common issues we find when inspecting attics.
Loose-Fill and Blown-In Insulation
Loose-fill insulation consists of small particles of fiberglass, cellulose, or mineral wool that are blown into place using special equipment. This is one of the best options for existing attics because the material conforms to irregular shapes and fills around obstructions like joists, wiring, and ductwork.
Cellulose is made primarily from recycled newsprint and treated with fire retardants. Fiberglass loose-fill contains 40% to 60% recycled glass. Mineral wool, also called rock wool or slag wool, is typically produced from 75% post-industrial recycled content. All three are effective choices for attic floors.
The main advantage of blown-in insulation is coverage. When installed at the correct density, it creates a relatively seamless blanket over the attic floor with fewer gaps than batts. This is why it is our preferred method for most retrofit attic projects. The catch is that it requires specialized blowing equipment, which most homeowners rent from a home improvement store. Achieving the right depth and density takes some practice.
Spray Foam Insulation
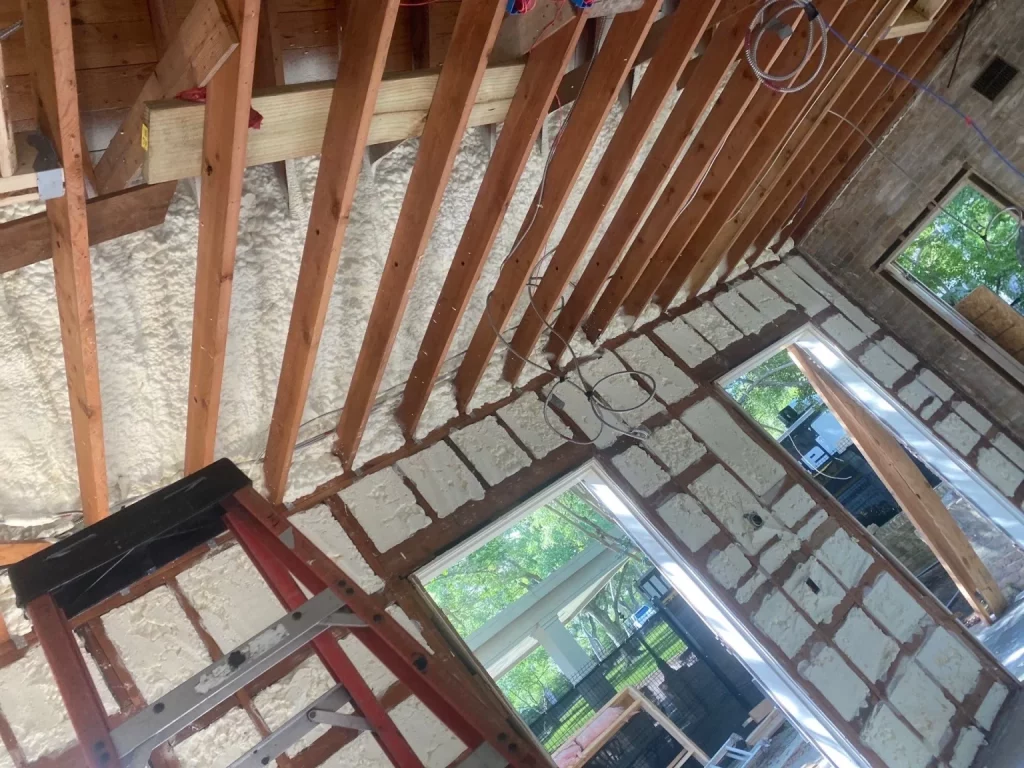
Spray foam comes in two forms: open-cell and closed-cell. Both are applied as a liquid that expands and hardens, filling gaps and creating an air seal. Closed-cell foam has a higher R-value per inch (around R-6 to R-7) compared to open-cell (around R-3.5 to R-4), and it also acts as a moisture barrier. Open-cell foam is lighter and less expensive but should not be used in areas where moisture exposure is a concern.
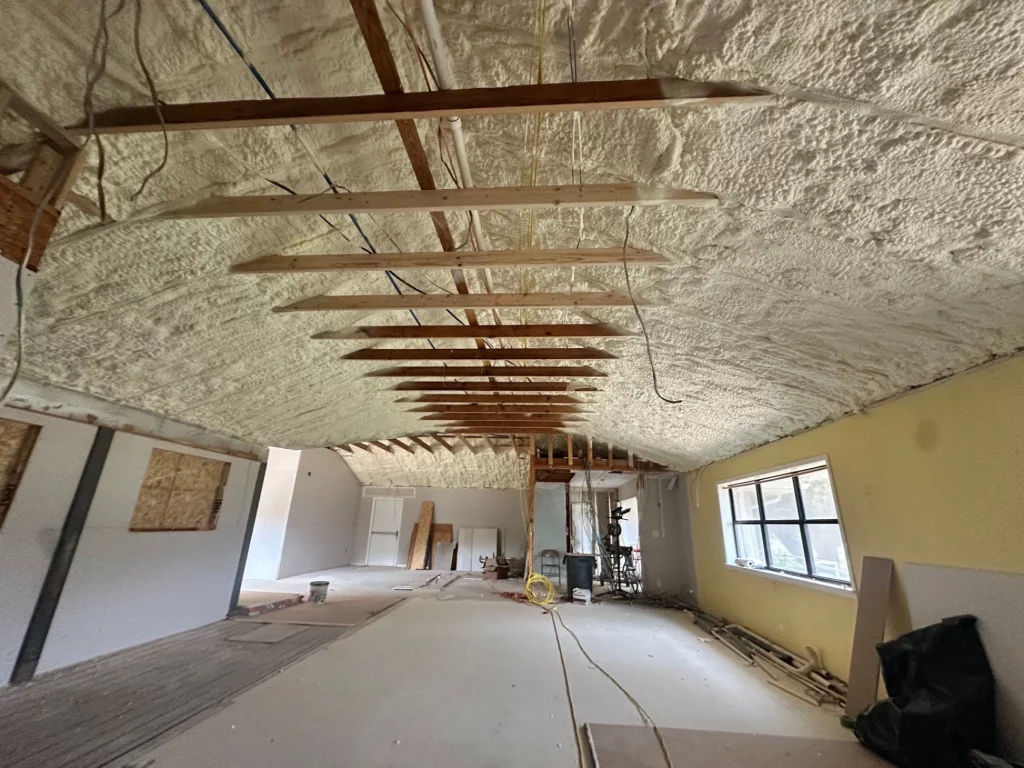
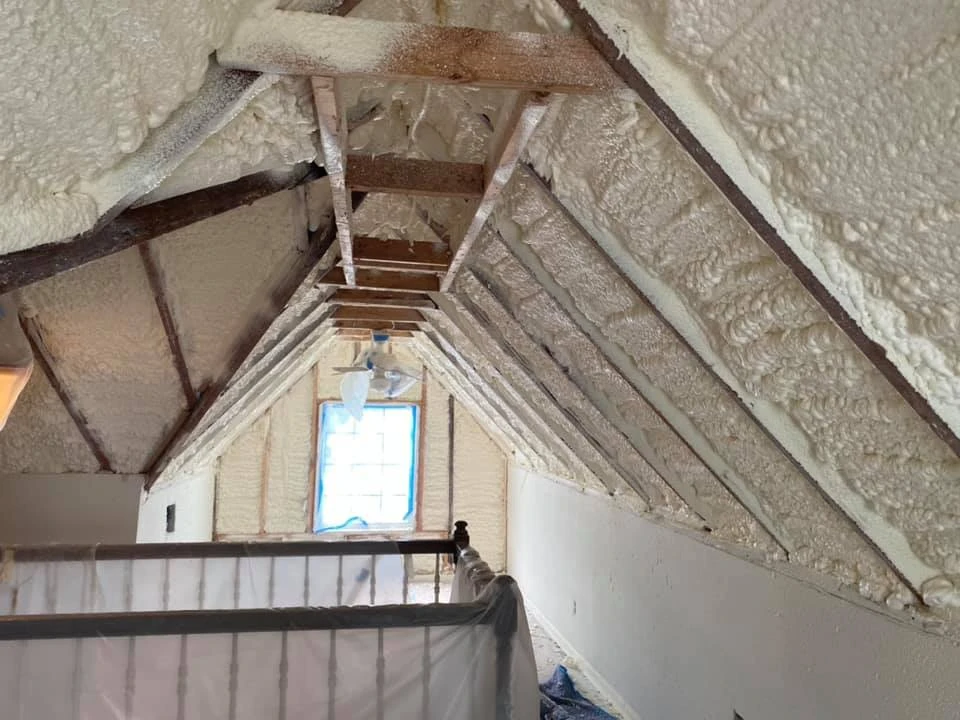
Spray foam stands apart from other insulation types because it doubles as an air barrier. When sprayed on the attic floor, it seals the penetration points where air normally leaks through. When sprayed along the roofline (the underside of the roof deck), it converts the attic into a conditioned space, which is useful when HVAC equipment and ductwork are located in the attic.
Spray foam requires professional installation and carries a higher cost than batts or blown-in insulation. It also requires a thermal barrier, like half-inch drywall, for fire safety in most building codes. Despite the cost, spray foam is often the best solution for attics with many air leakage points, irregular geometry, or situations where moving the insulation to the roofline makes sense for the home’s design.
Rigid Foam Board
Rigid foam boards, made from materials like polystyrene, polyisocyanurate, or polyurethane, offer high R-values per inch of thickness. They are sometimes used in attics as an additional layer on top of existing insulation or in specific applications like insulating attic hatches or knee walls.
Rigid foam is more commonly used in new construction or during major renovations rather than as a simple retrofit, because it needs to be cut to fit precisely and sealed at all joints. For most homeowners, adding insulation to an existing attic floor, batts, blown-in, or spray foam are more practical choices.
Radiant Barriers
Unlike bulk insulation that slows conductive and convective heat flow, radiant barriers work by reflecting radiant heat. They are typically installed in attics, primarily in hot climates, to reduce summer heat gain. According to the DOE, radiant barriers can lower cooling costs by 5% to 10% in warm, sunny climates. They are most effective when cooling ducts run through the attic.
Radiant barriers consist of a reflective material, usually aluminum foil, applied to a substrate like kraft paper, plastic film, or cardboard. To work properly, the reflective surface must face an air space. In cooler climates, adding more bulk insulation is generally more cost-effective than installing a radiant barrier.
Comparison of Common Attic Insulation Types
| Insulation Type | Typical R-Value Per Inch | Best For | DIY Friendly | Air Sealing Ability |
|---|---|---|---|---|
| Fiberglass batts | R-2.9 to R-3.8 | Standard attics with regular joist spacing | Yes | Low |
| Blown-in cellulose | R-3.1 to R-3.8 | Retrofit attics, irregular spaces | Moderate (rent equipment) | Low to moderate |
| Blown-in fiberglass | R-2.2 to R-2.7 | Attics where lightweight material is preferred | Moderate | Low |
| Open-cell spray foam | R-3.5 to R-3.9 | Attic floors, irregular cavities | No | High |
| Closed-cell spray foam | R-6 to R-7 | Roofline insulation, moisture-prone areas | No | Very high |
| Radiant barrier | Varies (reflects radiant heat) | Hot climates, ductwork in the attic | Yes | None |
Expert Tip: In older homes with settled insulation, we often recommend adding blown-in cellulose or fiberglass on top of the existing layer rather than removing it. This approach saves on labor costs and disposal fees, as long as the existing insulation is dry and in reasonable condition. Just be sure to address any air sealing needs before adding the new layer.
R-Value: How Much Insulation Does Your Attic Actually Need?
R-value is the standard measure of an insulation material’s thermal resistance. The recommended R-value for your attic depends on your climate zone. Homes in warmer southern regions need less insulation than homes in northern states where winters are harsh and heating demands are high.
The DOE and ENERGY STAR recommend specific R-values for attic insulation based on climate zones. For most U.S. homes, the recommended attic insulation level ranges from R-30 in the warmest zones to R-60 in the coldest. Many older homes were built with far less. If your home was built before the 1990s, you might have only R-11 to R-19 of insulation in your attic, which falls well short of current recommendations.
To check your attic’s current R-value, you need to identify the type of insulation and measure its depth. Fiberglass batts with an R-13 rating are typically 3.5 inches thick, while R-19 batts are about 6 inches. Blown-in fiberglass provides roughly R-2.2 to R-2.7 per inch, and blown-in cellulose provides about R-3.1 to R-3.8 per inch. So if you have 10 inches of settled cellulose, you are at approximately R-31 to R-38.
Key Takeaways
- R-value measures how well insulation resists heat flow, and higher R-values mean better thermal performance.
- Recommended attic R-values range from R-30 in warm climates to R-60 in cold climates.
- Many older homes have only R-11 to R-19 of attic insulation, far below current recommendations, making upgrades a high-impact improvement.
Expert Tip: Measure insulation depth in multiple locations across your attic, not just one spot. Wind washing near soffit vents and settling over time can create significant variation. We have seen attics where one side had adequate depth while the other was dangerously thin.
Air Sealing: The Step Most Homeowners Skip
This is perhaps the most important section in this entire guide. Insulation alone is not enough. If your ceiling has air leaks, warm indoor air will pass right through the insulation and escape into the attic, carrying with it moisture that can condense on cold surfaces and cause mold, rot, and other damage.
As Natural Resources Canada – Keeping The Heat In: Roofs and Attics explains, air leaks through chimneys, vents, plumbing pipes, and electrical boxes in the attic can account for substantial heat loss and lead to a variety of moisture-related problems. They stress that the importance of air sealing cannot be overstated, and that homeowners should never rely on insulation alone to reduce the need for proper air sealing.
Common Attic Air Leakage Points
We consistently find the same trouble spots in the attics we inspect:
- Recessed can lights: These are one of the worst offenders. Standard recessed lights are essentially holes in your ceiling that allow air to pour into the attic. Only IC-rated (insulation contact) fixtures that are also airtight should be covered with insulation.
- Plumbing stacks and vent pipes: The gaps around pipes that penetrate the ceiling are often left unsealed during construction.
- Electrical wiring penetrations: Holes drilled through top plates for wiring allow air to flow freely into the attic.
- Attic hatches and pull-down stairs: These are essentially uninsulated, unsealed doors to the outside. An attic hatch can be one of the biggest air leaks in the entire building envelope.
- Ductwork boots: Where HVAC supply and return ducts pass through the ceiling into the attic, gaps around the boots let conditioned air escape.
- Chimney and flue chases: The framing around chimneys creates large cavities that connect directly to the attic.
- Top plates of partition walls: The gap between drywall and the top plate of interior walls is a direct air pathway.
- Dropped soffits and bulkheads: Kitchen and bathroom soffits hide gaps that allow air to bypass the insulation layer entirely.
How to Air Seal Your Attic
Air sealing should always be completed before adding insulation. The process involves identifying every penetration through the ceiling plane and sealing it with an appropriate material. For small gaps and cracks, canned spray foam or caulk works well. For larger openings around ductwork or chimneys, sheet metal flashing and high-temperature sealant are necessary. For chimney clearances, a non-combustible barrier must maintain at least 3 inches of clearance between the chimney and insulation.
According to the Building America Solution Center’s guide on ice dam prevention, the most important step in preventing ice dams and energy loss is to seal all air leaks from the conditioned space into the attic. They identify a wide range of common leakage sources, from gaps around electrical wiring and light fixtures to open soffits, top plates, and drywall seams.
Expert Tip: Use a smoke pencil or incense stick on a windy day to detect air leaks. Hold it near suspected leakage points and watch the smoke. If it moves, you have found a leak that needs sealing. This simple test reveals problems that are invisible to the naked eye.
The Relationship Between Attic Insulation and Ventilation
Insulation and ventilation work as a team in a traditional vented attic. This concept confuses many homeowners, because it seems counterintuitive to insulate for warmth and then deliberately allow cold air into the attic. But the combination is what keeps your home durable and efficient year-round.
As ENERGY STAR – About Attic Ventilation explains, in winter, allowing a natural flow of outdoor air through the attic helps keep it cold, which reduces the potential for ice dams. Proper insulation and air sealing keep the living space warm while preventing that heat from reaching the attic. In summer, ventilation moves super-heated air out of the attic, protecting roof shingles and removing moisture. The insulation below resists heat transfer into the house.
Types of Attic Ventilation
A well-designed attic ventilation system uses a combination of intake vents and exhaust vents:
- Soffit vents: Located under the eaves, these allow fresh air to enter the attic at the lowest point.
- Ridge vents: Running along the peak of the roof, these allow warm air to exit at the highest point.
- Gable vents: Installed in the gable ends of the attic, these provide cross-ventilation.
- Powered attic fans: These mechanically draw air out of the attic, but they can cause problems if the attic is not properly sealed. ENERGY STAR warns that if soffit vents are blocked and the attic is not well-sealed from the living space, powered fans will suck conditioned air out of your home, increasing energy bills.
Rafter Vents and Baffles
One of the most critical and commonly overlooked components is the rafter vent, also called an insulation baffle. These are installed at the point where the attic ceiling meets the attic floor, in the spaces between rafters. Rafter vents create a clear channel for air to flow from the soffit vents up along the underside of the roof deck to the ridge or gable vents. Without them, blown-in or batt insulation will block the soffit vents, cutting off the air supply that your ventilation system depends on.
ENERGY STAR identifies the most common mistake homeowners make when installing attic insulation: blocking the flow of air at the eaves by covering soffit vents with insulation. Rafter vents prevent this problem and allow you to insulate all the way out to the exterior wall top plates without compromising ventilation.
Vented vs. Unvented Attics
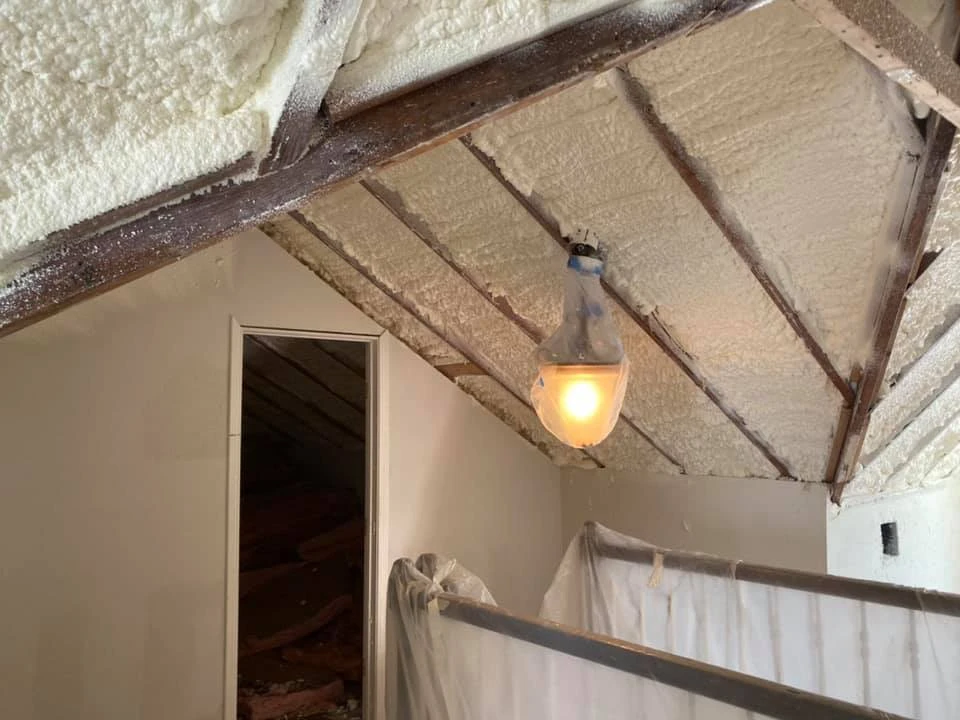
Most homes have vented attics where insulation sits on the attic floor, and the space above is ventilated. However, an unvented (or conditioned) attic is another approach. In this design, spray foam insulation is applied directly to the underside of the roof deck, bringing the attic into the conditioned envelope. This eliminates the need for attic ventilation and keeps ductwork and HVAC equipment in a conditioned space, which improves their efficiency.
Unvented attics make the most sense when HVAC equipment and ductwork are located in the attic, or when the attic space is being finished as living space. They require careful design to manage moisture, and building codes have specific requirements for unvented assemblies.
Common Problems Caused by Poor Attic Insulation
When attic insulation is inadequate, improperly installed, or missing entirely, the consequences extend well beyond higher energy bills.
Ice Dams
In cold climates, ice dams are one of the most visible and damaging consequences of poor attic insulation. According to the Building America Solution Center – Attic Air Sealing, Insulating, and Ventilating for Ice Dam Prevention, ice dams form when three conditions converge: snow on the roof, a poorly air-sealed and insulated attic, and freezing temperatures. Heat escaping through the ceiling warms the roof deck, melting snow from below. That meltwater runs down the roof until it reaches the cold eaves, where it refreezes and forms an ice ridge. As this cycle continues, the dam grows, and water backs up behind it, potentially working its way under shingles and into the house.
Ice dams can damage roof decking, gutters, interior ceilings, and walls. The water infiltration can also saturate attic insulation, reducing its effectiveness and creating conditions for mold growth. Proper air sealing, adequate insulation levels, and good attic ventilation work together to prevent ice dams by keeping the roof deck cold enough to prevent snowmelt.
Moisture and Mold
Warm indoor air carries moisture. When that air leaks into the attic through ceiling penetrations and meets cold surfaces, condensation forms. Over time, this moisture accumulates on roof decking, rafters, and insulation, creating an environment where mold thrives. Mold not only damages the wood structure but also poses health risks to the home’s occupants, particularly those with allergies or respiratory conditions.
Uneven Temperatures and Comfort Issues
Rooms directly below an under-insulated attic are often the most uncomfortable spaces in the house. In summer, the ceiling radiates heat downward, making upper floors unbearably warm. In winter, heat escapes through the ceiling, leaving rooms cold and drafty. You might notice that some rooms feel fine while others do not, or that your HVAC system runs constantly without ever achieving consistent comfort.
Increased Wear on HVAC Equipment
When your home loses conditioned air through the attic, your heating and cooling system has to work harder to maintain the thermostat setting. This means longer run times, more frequent cycling, and accelerated wear on components. Over time, this extra strain can shorten the lifespan of your HVAC equipment and lead to more frequent repairs.
Expert Tip: If you notice frost buildup on the underside of your roof deck during winter, that is a clear sign that warm, moist air is leaking from your living space into the attic. The frost itself is not the immediate problem, but when it melts during a warm spell, the water can saturate your insulation and cause damage. Address the air leaks promptly.
How to Assess Your Attic’s Current Insulation
Before making any changes, you need to know what you are working with. A thorough attic inspection covers several key areas.
Check the Depth and Type
Look at the existing insulation across the entire attic floor. Measure the depth in multiple locations using a ruler or tape measure. Note the type of material. Is it fiberglass batts (yellow or pink), loose-fill cellulose (grayish, paper-like), loose-fill fiberglass (white and fluffy), or something else? If you have vermiculite insulation, which looks like small, lightweight, silver-gray or brownish pellets, do not disturb it. Vermiculite installed before 1990 may contain asbestos and should be tested by a professional before any work proceeds.
Look for Gaps, Voids, and Settling
Check for areas where insulation is missing entirely, has been pushed aside during previous work, or has settled to a noticeably lower depth. Pay special attention to the perimeter of the attic above the exterior walls, where insulation is most commonly inadequate. Also check around chimneys, flues, and recessed lights, where insulation is often sparse due to clearance requirements or previous air sealing work.
Inspect for Moisture Damage
Look for water stains on the roof decking, discolored or matted insulation, mold growth on wood surfaces, or rust on nails and fasteners. Check for frost during cold weather. If you find moisture problems, identify and fix the source before adding more insulation. Adding insulation over a moisture problem traps the moisture and makes the situation worse.
Evaluate Ventilation
Verify that soffit vents are clear and not blocked by insulation. Check that rafter vents or baffles are in place and functioning. Look for ridge, gable, or other exhaust vents and confirm they are not obstructed. A well-ventilated attic should have a clear path for air to enter at the soffits and exit at the ridge or gables.
Assess the Attic Hatch
The attic hatch or pull-down stairs are often the weakest point in an otherwise well-insulated ceiling. Check whether the hatch is insulated on top and weatherstripped around the edges. An uninsulated hatch can be equivalent to leaving a window open in your ceiling.
The Installation Process: What to Expect
Whether you hire a professional or take on the project yourself, the general sequence for upgrading attic insulation follows the same core steps.
Step 1: Air Seal First
Before any insulation goes down, seal every penetration in the ceiling plane. This includes gaps around plumbing stacks, electrical wires, duct boots, chimneys, and recessed lights. Use canned spray foam for small gaps, backer rod and caulk for larger joints, and sheet metal with high-temperature sealant around chimneys. Install covers over non-IC-rated recessed lights or replace them with airtight IC-rated fixtures.
Step 2: Address Ventilation
Install rafter vents or baffles in every rafter bay at the eaves. These ensure that soffit ventilation is maintained once insulation is installed. Staple the baffles directly to the roof decking. If you are using blown-in insulation, install a block at the outer edge of each bay (a piece of rigid foam board works well) to prevent the insulation from spilling into the soffit.
Step 3: Install the Insulation
For blown-in insulation, set up the blowing machine, load the material, and begin filling the attic floor. Work from the farthest corners back toward the access point. Use depth markers placed throughout the attic to ensure consistent coverage. For batts, fit them snugly between the joists without compressing them. If adding a second layer, install it perpendicular to the first layer to cover the tops of the joists and reduce thermal bridging.
Step 4: Insulate the Attic Hatch
Build an insulated cover for the hatch using rigid foam board, and add weatherstripping around the frame. The hatch should match the insulation level of the surrounding attic floor.
Step 5: Verify and Inspect
Check the depth across the entire attic to confirm uniform coverage. Verify that no soffit vents are blocked. Confirm that clearances around chimneys, recessed lights, and other heat sources are maintained. Check that rafter vents are in place and unobstructed.
Signs Your Attic Needs More Insulation
Not everyone is ready to climb into their attic with a tape measure. There are several everyday signals that your attic insulation may be insufficient:
- High energy bills compared to similar homes in your area. If your utility costs seem out of line with what your neighbors pay, poor insulation could be the reason.
- Visible ice dams form along the roof edge in winter. This is a direct indicator that heat is escaping through the attic and warming the roof deck.
- Drafts or cold spots in rooms directly below the attic. If certain upstairs rooms are always colder in winter, heat is escaping through the ceiling.
- Uneven indoor temperatures between floors. A significant temperature difference between the first and second floors often points to inadequate attic insulation.
- HVAC system is running constantly. If your system never seems to shut off or struggles to maintain the thermostat setting, the house may be losing conditioned air through the attic.
- The attic insulation appears thin, uneven, or has visible gaps. Even a quick visual check through the attic hatch can reveal obvious problems.
- The home was built before 1980. Most homes built before modern energy codes were enacted have insufficient insulation by today’s standards.
Environmental and Indoor Air Quality Benefits
The advantages of proper attic insulation go beyond your utility bills. Reduced energy consumption means lower greenhouse gas emissions from power plants. When your home uses less heating and cooling, the environmental footprint of your household shrinks. Given that 89% of homes are under-insulated, there is a massive opportunity for energy conservation at the national level through attic insulation upgrades.
Indoor air quality also improves with proper insulation and air sealing. When you seal the air leaks between your living space and the attic, you also block the pathways through which dust, insulation fibers, and potential mold spores from the attic can enter your home. A tight building envelope, combined with controlled mechanical ventilation, creates a healthier indoor environment.
Federal Tax Credits and Incentives
The federal government currently offers financial incentives to encourage homeowners to improve their homes’ energy efficiency. The 25C tax credit, available through the Inflation Reduction Act, allows homeowners to claim up to $1,200 per year for qualifying energy-efficient home improvements, including insulation. This credit is available annually through 2032 and can be combined with state and local utility rebates in many areas. Check with your tax advisor for details on eligibility and how to claim the credit.
Frequently Asked Questions About Attic Insulation
How do I know if my attic insulation needs upgrading?
The most reliable way is to measure the depth and type of insulation currently in your attic, then compare it to the recommended R-value for your climate zone. If your home was built before 1990, or if the insulation depth is less than what is recommended, an upgrade is likely worthwhile.
Can I add new insulation on top of old insulation?
In most cases, yes. As long as the existing insulation is dry, free of mold, and not vermiculite (which may contain asbestos), you can add a new layer of unfaced insulation on top. Air seal first, then install the new layer perpendicular to the existing insulation for better coverage across the joists.
Does attic insulation help in summer as well as winter?
Yes. In summer, insulation resists the transfer of heat from the hot attic down through the ceiling into your living space. A well-insulated attic keeps your home cooler and reduces the load on your air conditioning system, which can lower summer cooling costs significantly.
How long does attic insulation last?
Most attic insulation materials last 30 to 80 years or more when installed correctly and kept dry. Fiberglass and mineral wool are particularly durable. Cellulose can settle over time, gradually losing some R-value, but this is usually a slow process. Moisture damage, pest activity, and physical disturbance are the main threats to insulation lifespan.
What is the difference between vented and unvented attic insulation?
A vented attic has insulation on the attic floor with ventilation above it, keeping the attic space at roughly the outdoor temperature. An unvented attic has insulation on the underside of the roof deck, bringing the attic into the conditioned space. Unvented attics are particularly useful when HVAC equipment and ductwork are located in the attic.
Is spray foam insulation worth the extra cost for an attic?
It depends on the situation. Spray foam provides both high R-value and air sealing in a single step, which can justify the cost in attics with many air leakage points. It is also the standard approach for unvented attic assemblies. For a standard vented attic with a relatively airtight ceiling, blown-in cellulose or fiberglass typically offers the best value.
Putting Your Attic Insulation Strategy into Action
We have covered a lot of ground in this guide. The science of heat transfer, the types of insulation available, the critical role of air sealing, the relationship with ventilation, and the real-world consequences of ignoring your attic. The bottom line is straightforward: most homes in the U.S. are under-insulated, and the attic is one of the highest-impact places to address that shortfall.
Start by inspecting your attic. Measure the insulation depth, check for air leaks, look for signs of moisture damage, and assess whether your ventilation is functioning. Compare what you find to the recommended R-value for your climate zone. If you are short, make a plan. Prioritize air sealing before adding insulation, and ensure that ventilation is not compromised in the process.
Whether you decide to take on the work yourself or hire a professional, the principles in this guide give you the foundation to make informed decisions. A well-insulated attic pays for itself over time in lower energy bills, improved comfort, fewer maintenance problems, and a healthier home environment. Bookmark this guide and refer back to it as you move through the process.
Need Expert Guidance?
If you are ready to improve your attic insulation but want a professional assessment before making decisions, we are here to help. Stellrr Insulation & Spray Foam provides thorough attic evaluations, air sealing, and insulation installation. Reach out to us at info@stellrr.com or call 512-520-0044 to discuss your project.
Sources
- ENERGY STAR – Rule Your Attic! For Comfort and Savings – EPA-backed resource on attic insulation benefits, including estimated energy savings from sealing and insulating
- U.S. Department of Energy – Types of Insulation – Comprehensive guide covering all major insulation types, materials, installation methods, and applications
- ENERGY STAR – About Attic Ventilation – Detailed explanation of natural and mechanical attic ventilation, including rafter vent installation and common mistakes
- Building America Solution Center – Attic Air Sealing, Insulating, and Ventilating for Ice Dam Prevention – DOE-funded technical guide on the three-part approach to preventing ice dams through air sealing, insulation, and ventilation
- Natural Resources Canada – Keeping The Heat In: Roofs and Attics – Comprehensive guide covering attic assessment, air sealing, insulation installation, moisture management, and ice dam prevention